The Ren’Py documentation pages might be a little bit difficult to understand when it comes to setting up a custom cursor for beginners. While there are some tutorials on different places on the internet, such as on the official forums for Ren’py (lemmasoft), I thought I’d make an article here on my blog for those of you who are perhaps googling for help. Who knows, maybe you’ll like the way I explain it. 😊
Do please follow along this article by testing each example under the first header yourself in a new fresh test project. You can download the cursor images I use for this article with the button below (will download directly, no pesky external download sites with ads!).
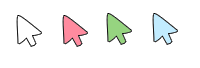
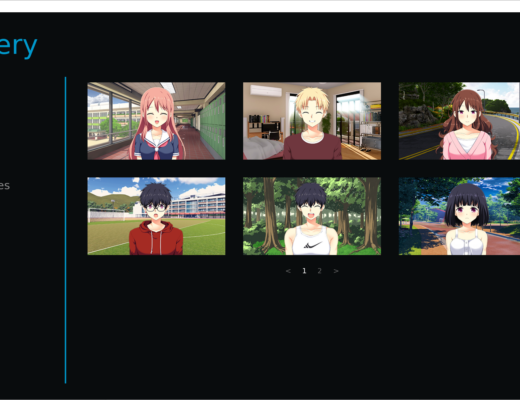
For this tutorial, we’ll be using a white, blue, pink and green cursor for different things, as seen in the picture below.
Automatically change cursors for different scenarios (config.mouse)
If you are a beginner, you may have seen the documentation pages and read that you’re supposed to define the custom image you want to use for a specific “scenario” using the config.mouse variable. The way to do that is to define the config.mouse variable with a dictionary object as the value, containing a list which in turn contains tuple values. In the example below, we set the default cursor in the game to a custom cursor image.
define config.mouse = {}
define config.mouse["default"] = [("images/custom-default-cursor.png", 0, 0)]
You can do it like in the above example, or you can define it in one line. It just depends on what you find to be more readable.
In the above example, we first made a new dictionary object (empty curly brackets) and then added a new item to that dictionary on the new line. You can read more about how Python dictionaries work in regards to creating and adding items to a dictionary on w3schools website.
In the below example, we define the default cursor on the same line as we create the dictionary.
define config.mouse = {"default" : [("images/custom-default-cursor.png", 0, 0)]}This code can be put inside your main script file, in the options file or any other .rpy file you have available in your project. But since this is Python code, you don’t want to add this into a label or screen, you put it outside of that, such as above the start label, like in the example below.
define config.mouse = {"default" : [("images/custom-default-cursor.png", 0, 0)]}
screen my_screen():
image Solid("#FFFFFF")
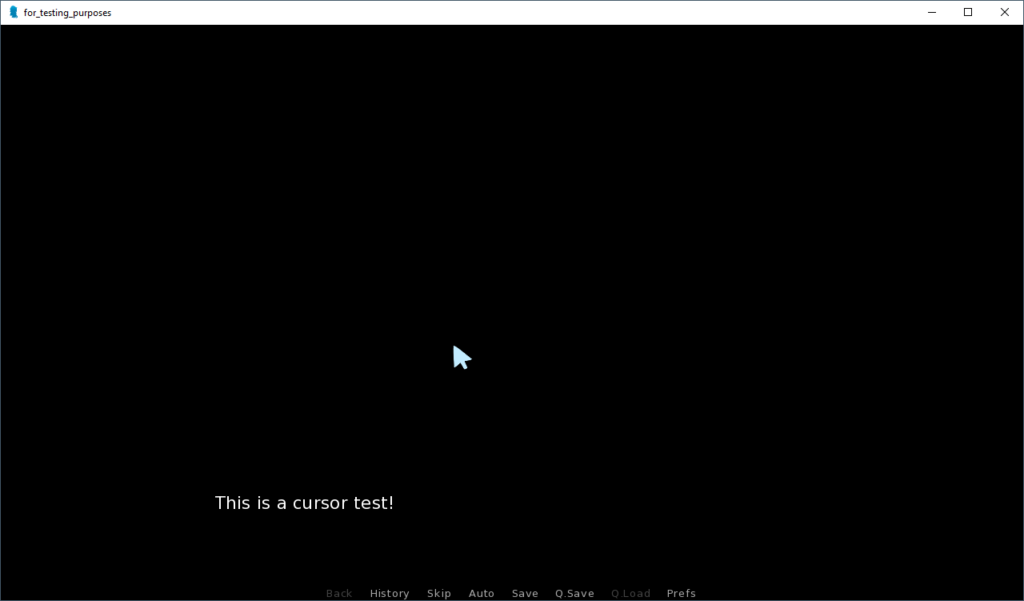
label start:
"This is a cursor test!"
call screen my_screen
return
In this example, we have the start label with a narrative text being the first thing that shows up in the game. Then we call a screen that just shows a white color all over.
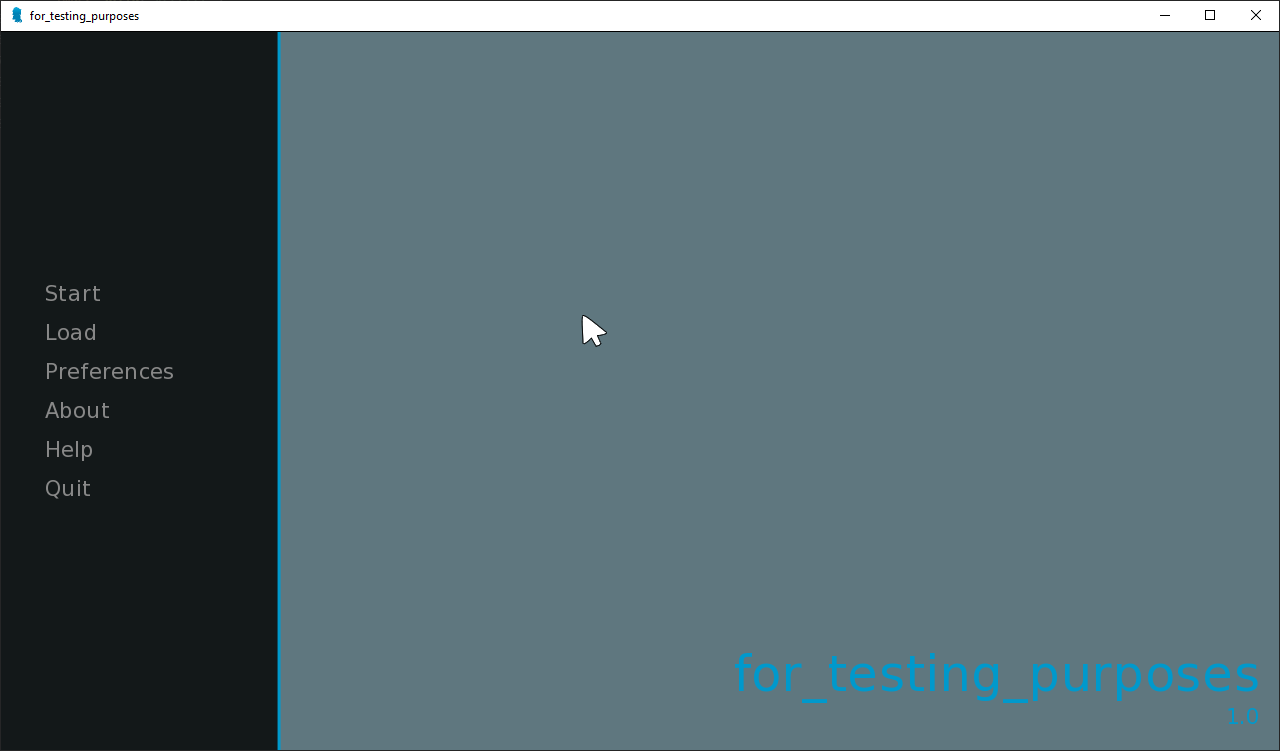
When we run this example, we can see the custom white cursor shows in every aspect of our game, in the main menu, inside the game, in the game menu, preferences etc. So this is an example of how to set a custom cursor to be used everywhere in your game, and Ren’Py switches the cursor “automatically” without you needing to do anything more.
The 0s that comes after the image path is offset values in pixels on the x and y axis, the first one being the x axis and second being the y axis. I have set 0 here for both values, as I don’t want to offset the image for this example.
Click on an image below to view a full-screen slideshow.

But now you may want to go beyond that and show other types of cursors for other scenarios, such as for the game menu or say screen for example.
According to the configuration variables documentation page, there are other “keys” you can use other than the default one, such as “gamemenu“, “say“, “imagemap“, “mainmenu“, “prompt” etc. So let’s go ahead and add another cursor for the say screen specifically.
define config.mouse = {}
define config.mouse["default"] = [("images/custom-default-cursor.png", 0, 0)]
define config.mouse["say"] = [("images/custom-say-cursor.png", 0, 0)]
In the above example, we have both a default cursor and a cursor for the say screen. Again, you can define this in one line by adding the different dictionary items one after the other, separating them with a comma, like in the below example.
define config.mouse = {"default" : [("images/custom-default-cursor.png", 0, 0)], "say" : [("images/custom-say-cursor.png", 0, 0)]}
screen my_screen():
image Solid("#FFFFFF")
label start:
"This is a cursor test!"
call screen my_screen
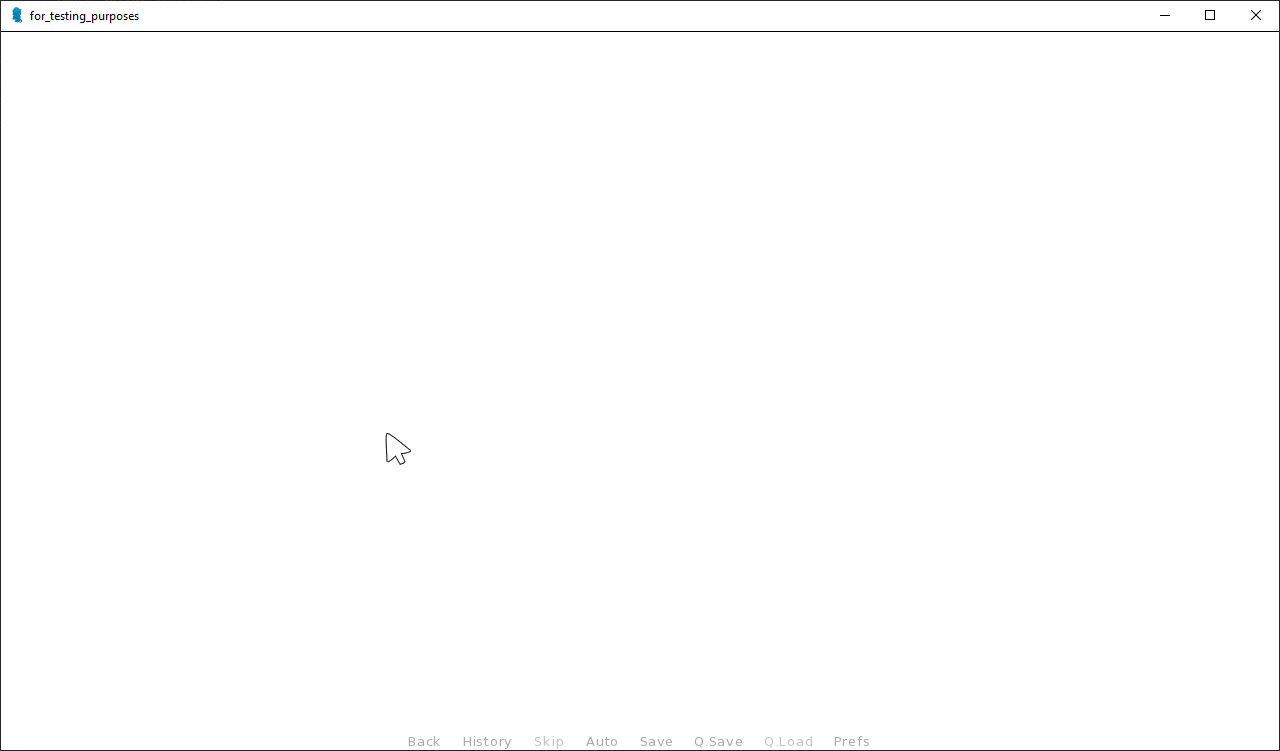
returnIf you test your game with this, you should see that when the say screen shows up, the cursor switches to the light blue version. Then when the screen “my_screen” shows up, the cursor is back to the default white one.

So getting a custom cursor for the say screen is as easy as this, and again, this works more or less “automatically”. Meaning, you don’t have to go into the screens file to mess around with the code there to get the cursors to switch when the say screen shows etc.
Let’s try another one, such as for an input prompt. The key you should specify should be “prompt” for this. This only pertains to input prompts and not confirm prompts, which the documentation doesn’t specify. Let’s have a look at the example below.
define config.mouse = {"default" : [("images/custom-default-cursor.png", 0, 0)], "say" : [("images/custom-say-cursor.png", 0, 0)], "prompt" : [("images/custom-prompt-cursor.png", 0, 0)]}
screen my_screen():
    image Solid("#FFFFFF")
label start:
    $user_input = ""
    "This is a cursor test!"
    $user_input = renpy.input("Enter some text!")
    call screen my_screen
    return
If you run this example, you should see what we have seen before, as well as once you reach the input prompt the cursor turns into the green variant. Just as we wanted.

Now let’s try adding a custom cursor to the game menu with the same method we have used before.
define config.mouse = {"default" : [("images/custom-default-cursor.png", 0, 0)], "say" : [("images/custom-say-cursor.png", 0, 0)], "prompt" : [("images/custom-prompt-cursor.png", 0, 0)], "gamemenu" : [("images/custom-game-menu-cursor.png", 0, 0)]}
screen my_screen():
    image Solid("#FFFFFF")
label start:
    $user_input = ""
    "This is a cursor test!"
    $user_input = renpy.input("Enter some text!")
    call screen my_screen
    return
Here I have added the “gamemenu” item to the dictionary with the game menu image. If we now run the game to see how this works, we’ll not get the expected result. 😮
First of all, we’ll get the main menu which will use the default white cursor as the image. Then we start the game and the say screen shows up, so well see the light blue image. Then if we hit ESC on the keyboard to reach the game menu, we’ll see that it uses the default cursor instead of the pink one, which is not the expected result. So this method isn’t working for the game menu by itself. It doesn’t work either with the main menu.
Click on an image to view a full-screen slideshow.
Why the game menu and main menu isn’t working as expected, I’m not sure. It would be something in the underlying code for the Ren’Py engine where there’s just no code to automatically switch the cursor to the specified one using the mouse configuration variable.
Still, the documentation page for configuration variables specifies under the config.mouse variable, that the default keys available includes game and main menu. Whatever the reason is, you can make the switch work with the game menu by implementing some additional code in the screens.rpy file yourself. It may not be the desired way to do it, but if you’re set on making it work still, this is a way to do it.
Changing cursors “manually” with more code
So let’s say you want to implement a specific cursor only to use in the game menu. To make this work, you first define the cursor as before, by using the config.mouse variable. Then, inside of the screens.rpy file, you want to look for the “game_menu” screen. In there, you’re going to make a modification like in the example below.
screen game_menu(title, scroll=None, yinitial=0.0):
    on "show" action SetVariable("default_mouse", "gamemenu")
    ...
Here, at the very top of the screen, I’ve added an “on” control statement with the expression “show“. Then follows the action that should run whenever this screen is first shown, which sets a variable named “default_mouse” to the cursor you want to show.
The default_mouse variable is a default variable available in Ren’Py that should point to the cursor that is to be used. In this case, we’re specifying that we want to use the “gamemenu” cursor as defined in the config.mouse variable. It can also point to a None value, which will cause Ren’Py to instead display the standard operative system cursor.
So as you can see, you can manually switch between different cursors you have defined in the config.mouse variable in screen actions.
You can test this with the below example script and the changes to the screens.rpy file as described above.
define config.mouse = {"default" : [("images/custom-default-cursor.png", 0, 0)], "say" : [("images/custom-say-cursor.png", 0, 0)], "gamemenu" : [("images/custom-game-menu-cursor.png", 0, 0)]}
screen my_screen():
    image Solid("#FFFFFF")
label start:
    "This is a cursor test!"
    call screen my_screen
    return
If you run this example, enter the game menu while the say screen is still showing. Then you’ll see that the custom say cursor will switch to the game menu cursor, and then when you go back to the game again, the say cursor is back, because the say screen is showing.
Now there’s also more complex cases you might run into where you need to to some more adjustments. Like in the case of my shooting gallery mini-game tutorial, where we implement a custom target pointer cursor in the shooting gallery and the normal operative systems cursor for all other cases. For that, we set up the cursor image to the target pointer when the shooting gallery screen is shown to the player. But when we go to the game menu, we don’t want the target pointer to still show, so we had to make sure the cursor return to the normal cursor, then back to the target pointer when we return to the shooting gallery.
In the below section I’ll explain how I did this, but you can also check out the timestamp of the specific video for the tutorial where I show you step by step how it was done.
Switching between cursors – the little more advanced way
So inside the shooting gallery screen it looks like this:
screen shooting_gallery():
    on "show" action [..., SetVariable("default_mouse", "targetgame"), ...]
...(The dots is just there to indicate I have other irrelevant code before and after the relevant action.)
Here you can see I’ve set the default_mouse variable to point to a custom cursor I’ve labeled “targetgame“. I set that up with the config.mouse variable like in the example below.
define config.mouse = {}
define config.mouse["targetgame"] = [("images/target-pointer.png", 17, 10)]
So in this case, I created my own key that isn’t a default one in Ren’Py. Then I simply told Ren’Py to use this cursor image when showing the shooting gallery screen by setting the default_mouse variable to the key name.
Then to make sure that the default operative system cursor shows in the game menu instead of the target pointer which is now the default cursor, I make sure to set the default_mouse variable in the game_menu screen to None when the screen shows. Like this:
screen game_menu(title, scroll=None, yinitial=0.0):
    on "show" action SetVariable("default_mouse", None)
    ....
When we go back into the shooting gallery, unfortunately the target pointer wont switch back like with the say screen example we did before. So we need to manually switch it back to the target pointer again as we’re returning into the game.
But we need a way to determine whether or not we’re returning to the shooting gallery screen and not to any other screen, because we don’t want the target pointer to show in any other screen too.
So what I did to make sure of that, is I made an extra variable that I would set to True or False in the main script. This variable would be True if the shooting gallery screen had been shown, and False if it had been hidden. This way, in the game menu screen, I can check first if the variable is True or False, and if it’s True, then that means that we reached the game menu from the shooting gallery, and thus when we go back into the game, the shooting gallery will be shown.
So in the main script, I called the variable “shooting_gallery” and I set it to False as the initial value. Then in the shooting gallery, I simply made sure to set its value to True:
screen game_menu(title, scroll=None, yinitial=0.0):
    on "show" action [... SetVariable("default_mouse", "targetgame"), SetVariable("shooting_gallery", True)]
    ....
Now in the game menu screen, you would need to go all the way down to the bottom of the screens code, where it says “if main_menu:“. To make the cursor switch back when we go back to the shooting gallery, we would need to make sure we set the default_mouse back to “targetgame” if this menu is shown in the game menu and not in the main menu. So that would look like the below example.
...
if main_menu:
        key "game_menu" action ShowMenu("main_menu")
    else:
        key "game_menu" action [If(shooting_gallery == True, true= SetVariable("default_mouse", "targetgame"), false= NullAction()), Return(True)]
Here, I’ve added an else statement which will run if this is not the main menu, but rather the game menu.
Then we have the key displayable which will run an action when a specific key has been pressed. In this case, if we press any button on the keyboard that is mapped in Ren’Py as a “game_menu” key, then this action will run. So in this case, the action is a call to the If() function which will check if a condition is true or false and then return a value depending on the result. The condition is “if shooting_gallery is set to True, then set the default_mouse variable to ‘target_game‘ and return back to the game.“. Now the target pointer shows as expected.
We also want to make sure in this case that the cursor goes back to the target pointer when the user click on the return button in the menu rather than a key on the keyboard. That is done by modifying the code just above the if statement, which looks like this:
...
textbutton _("Return"):
        style "return_button"
        action Return()
...
So instead of just having the Return() action here, we also want to add the same actions as we did before, so like in the below example.
...
textbutton _("Return"):
        style "return_button"
        action [If(shooting_gallery == True, true= SetVariable("default_mouse", "targetgame"), false= NullAction()), Return()]
...
And that’s all to that!
If you have any questions or just want to say thanks, do leave a comment below!
1 Comment
Saybo
September 14, 2024 at 1:28 pmThis page was really helpful! Thank you! helped me with my project!